Recipe

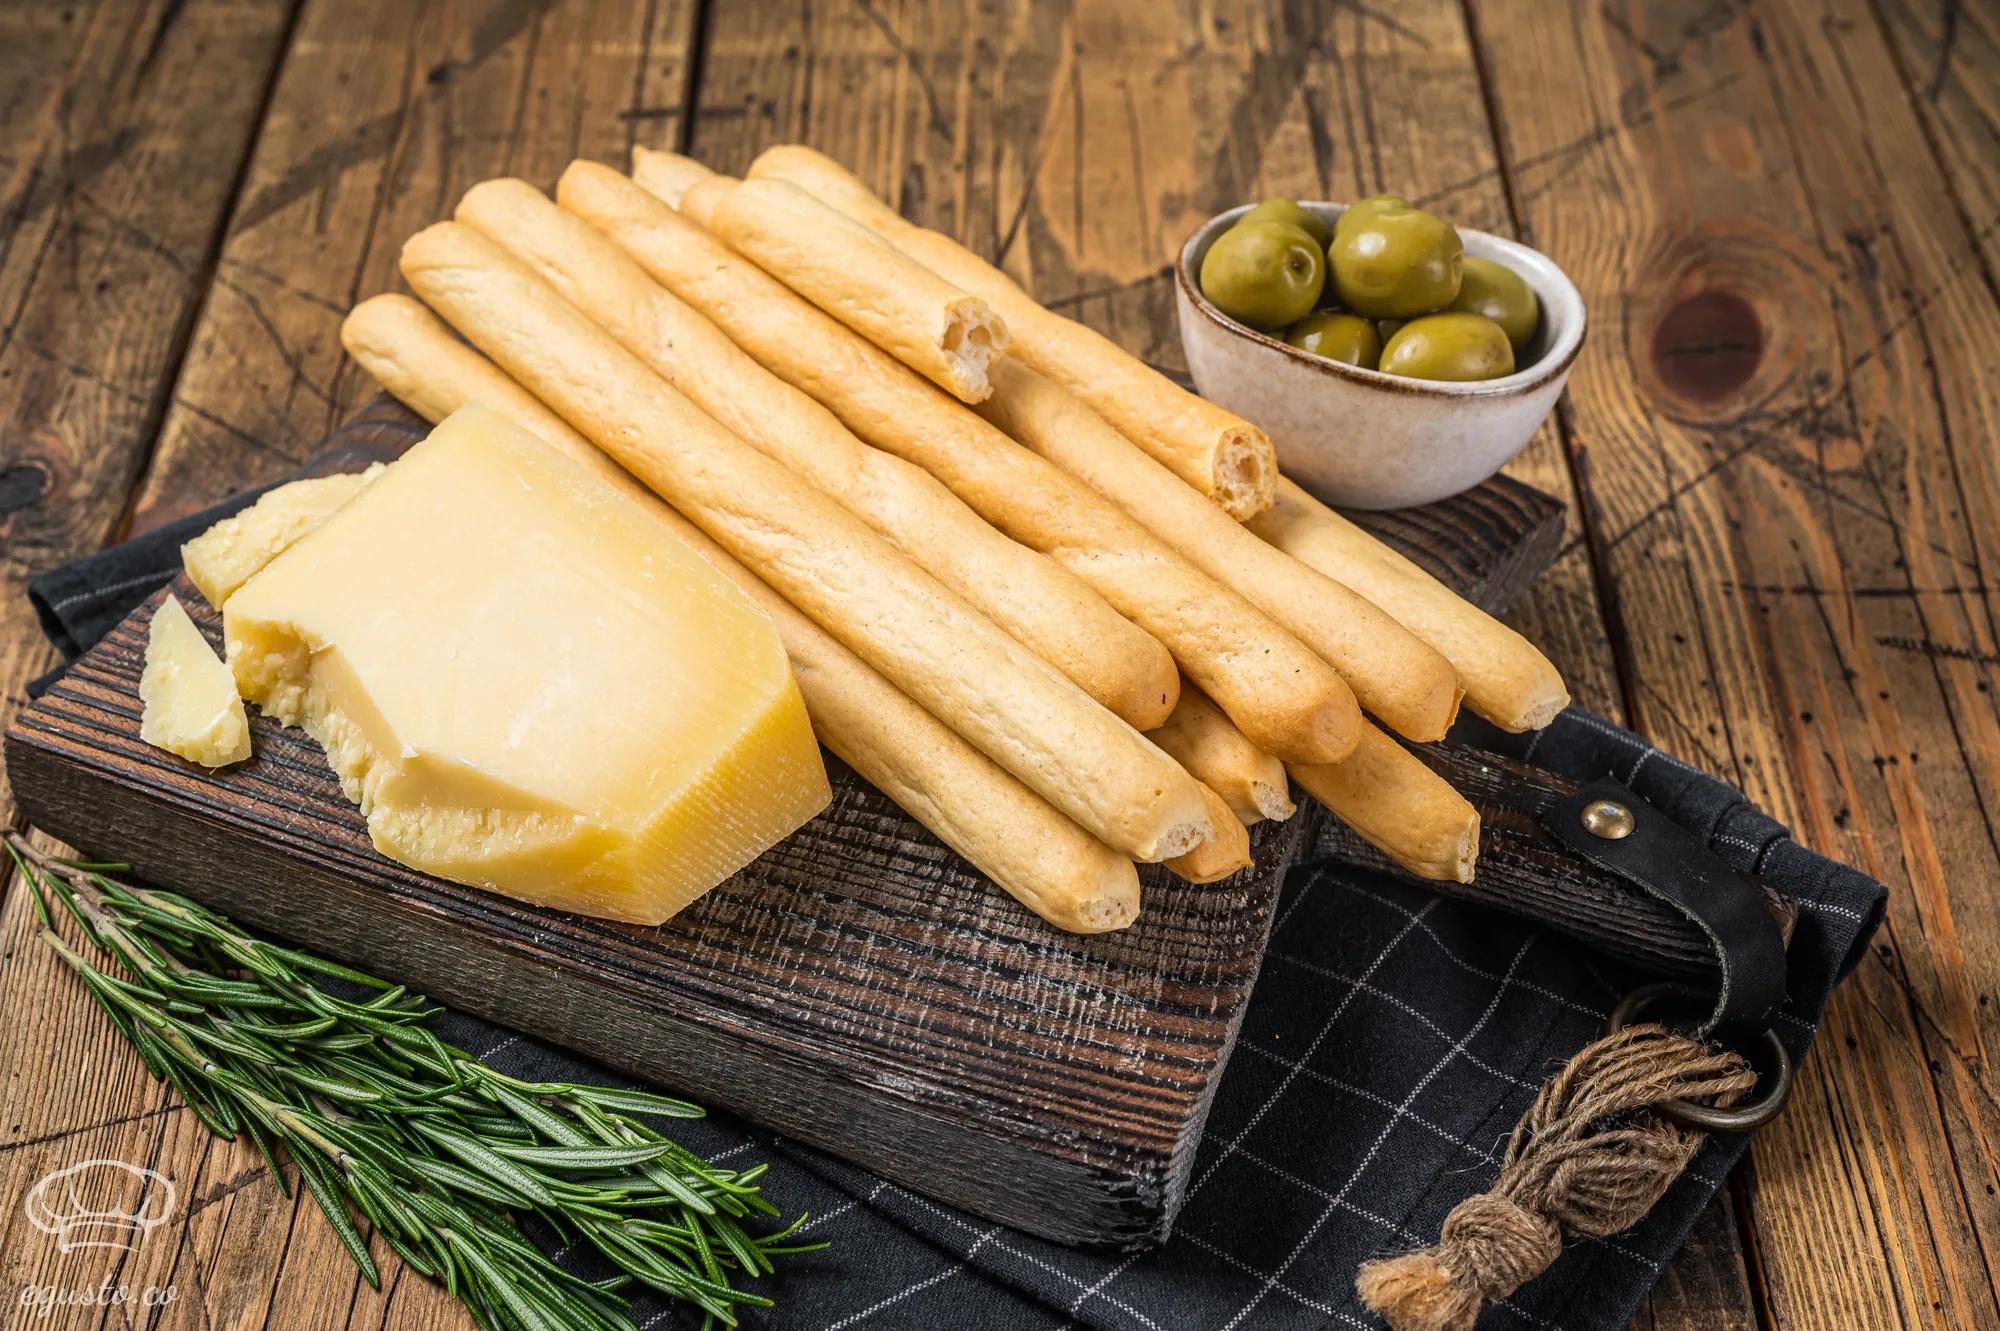
Experience the classic taste of hand-pulled breadsticks with this traditional Italian recipe. Delight in the process of creating these thin and crispy grissini that are perfect as a snack or served alongside your favorite meal.
1 3⁄4 | teaspoons active dry yeast (12 grams fresh yeast) |
|---|---|
1⁄2 | tablespoon malt syrup or sugar |
1 1⁄4 | cups lukewarm water |
2 | tablespoons olive oil, plus extra for brushing |
3 3⁄4 | cups bread flour |
1 1⁄2 | teaspoons salt |
1⁄2 | cup semolina, for dusting and rolling |
Prepare the dough | |
|---|---|
| 1. | In a large bowl, combine the active dry yeast, malt syrup or sugar, and lukewarm water. Allow the mixture to sit for about 10 minutes, until the yeast dissolves and forms a foamy layer. Stir in the olive oil, then add the bread flour and knead until a smooth, soft, and elastic dough forms. If kneading by hand, this process should take 8 to 10 minutes, or 3 minutes if using a mixer. Add the salt towards the end. |
| 2. | On a lightly floured surface, roll out the dough into a rectangle around 14 inches (35 centimeters) long. Fold the sides into thirds to create a width of about 3 to 4 inches (8 to 10 centimeters). Place the dough, seam side down, on a floured surface. Lightly brush the top with olive oil, cover loosely with plastic wrap, and allow it to double in size, approximately 1 hour in a warm location. |
Shape and bake the breadsticks | |
| 1. | Preheat the oven to 450°F (230°C) and lightly oil a baking sheet. Cut the risen dough into pieces that are 3 to 4 inches long and about the width of a finger. Roll each piece gently in semolina for a light coating. Using your thumbs and forefingers, stretch the dough from both ends, shaping it to the width or length of your baking sheet. Place on the prepared baking sheet and repeat with the remaining dough. |
| 2. | Bake the breadsticks until they turn golden, usually about 11 to 15 minutes, depending on their thickness. Remove from the oven and allow them to cool on a baking rack before serving. |
Published on Oct 17, 2024 by Luminița